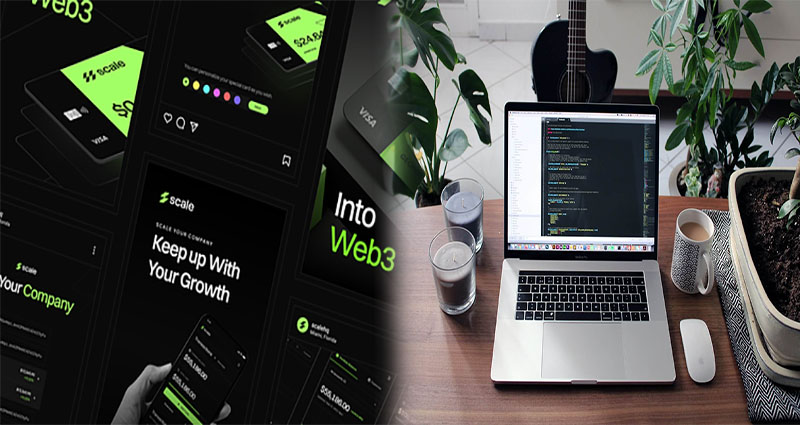
HTML5 banners have become a popular and effective way to engage audiences and promote products or services across various digital platforms. Google Web Designer is a powerful tool that enables designers and marketers to create visually appealing and interactive HTML5 banners with ease. In this article, we will guide you through the process of creating HTML5 banners using Google Web Designer.
Step 1: Getting Started
After installing Google Web Designer, launch the application and start a new project. Choose the “Display & Video 360” environment to create HTML5 banners optimized for advertising across different platforms.
Step 2: Choosing Banner Size
Select the appropriate banner ad size from the predefined list of Google Ads sizes or input custom dimensions for your HTML5 banner. Ensure that the chosen dimensions adhere to the specifications of the platform on which you intend to display the banner.
Step 3: Adding Elements and Assets
Drag and drop images, text, shapes, buttons, and other interactive elements onto the stage to design your banner. Use the built-in text and shape tools to customize the appearance of these elements according to your branding and design requirements.
Step 4: Animation and Interactivity
Utilize Google Web Designer’s timeline feature to add animation and interactivity to your HTML5 banner. Create keyframes to animate elements, transitions, and interactive events such as mouse hover effects or click interactions to make your banner more engaging.
Step 5: Adding Video and Audio
If your HTML5 banner requires multimedia elements, you can easily embed videos or play audio within the banner using Google Web Designer. Simply import your video or audio file and adjust the settings to ensure seamless playback within the banner ad.
Step 6: Preview and Testing
Preview your HTML5 banner within Google Web Designer to see how it will appear on different devices and screen sizes. Use the built-in testing tools to simulate the banner’s behavior and interaction, ensuring that it functions as intended across various environments.
Step 7: Publish and Export
Once you are satisfied with the design and functionality of your HTML5 banner, you can publish and export it directly from Google Web Designer. The platform offers various export options to generate the necessary files for ad serving, including HTML, CSS, and JavaScript files, as well as assets such as images and videos.
Step 8: Integration with Ad Platforms
Google Web Designer seamlessly integrates with Google Ads and other ad platforms, making it easy to upload and deploy your HTML5 banner ads for targeted advertising campaigns. You can also generate tags or code snippets for third-party ad networks to ensure broad compatibility and distribution.
Tips for Creating Effective HTML5 Banners
- Keep the design visually appealing and focused on the key message or call-to-action.
- Optimize file sizes and loading times to ensure smooth performance across different devices and connection speeds.
- Test the HTML5 banner across various browsers and devices to confirm its compatibility and responsiveness.
- Maintain brand consistency by using your brand’s colors, fonts, and imagery within the banner ad.
- Consider incorporating engaging and interactive elements to capture the audience’s attention and encourage interaction.
Google Web Designer offers a comprehensive set of tools and features to create compelling HTML5 banners for digital advertising campaigns. By following the outlined steps and best practices, you can leverage this platform to design and deploy visually stunning and interactive banner ads that effectively convey your marketing messages and drive audience engagement.


