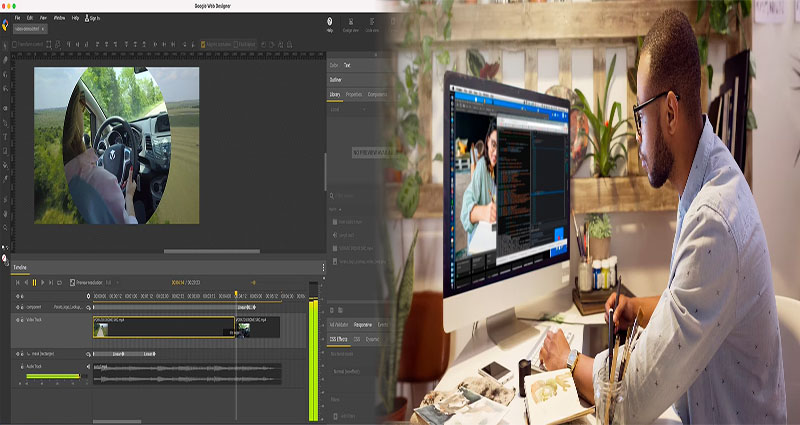
Are you looking to create eye-catching and engaging responsive ads for your marketing campaigns? Google Web Designer is a powerful tool that can help you design interactive and visually appealing ads that adapt to different devices and screen sizes. In this tutorial, we will guide you through the process of using Google Web Designer to create responsive ads.
Step 1: Getting Started
First, download and install Google Web Designer on your computer. Once installed, open the program and select the “Blank” document option to start a new project.
Step 2: Setting Up Your Ad Size
In Google Web Designer, go to the “Properties” panel and select the ad size presets for the responsive ad you want to create. You can choose from a variety of standard ad sizes or customize the dimensions to suit your campaign needs.
Step 3: Designing Your Ad Elements
Use the tool options in Google Web Designer to add images, text, buttons, and other interactive elements to your ad. Ensure that your design is visually appealing and conveys your message effectively to your target audience.
Step 4: Creating Responsive Layouts
To make your ad responsive, utilize the “Responsive Layouts” feature in Google Web Designer. This feature allows you to design different layouts for various screen sizes, ensuring that your ad looks great on desktops, tablets, and mobile devices.
Step 5: Adding Animation and Interactivity
Enhance your ad with animations and interactive elements to grab the attention of your audience. Use the timeline feature in Google Web Designer to create animated effects and engaging interactions that bring your ad to life.
Step 6: Preview and Test Your Ad
Before publishing your ad, use the preview feature in Google Web Designer to see how it looks on different devices and screen sizes. Test the functionality and responsiveness of your ad to ensure a seamless user experience.
Step 7: Publish Your Responsive Ad
Once you are satisfied with your ad design, it’s time to publish it. In Google Web Designer, go to the “File” menu and select the “Publish” option. Choose the appropriate settings for your ad, such as the publishing format and destination, and click “Publish” to generate the ad files.
With this tutorial, you can leverage the capabilities of Google Web Designer to create dynamic and responsive ads that captivate your audience and drive conversions. Experiment with different design elements, layouts, and interactive features to craft compelling ads that stand out in today’s competitive digital landscape.
